


The All-on-4 dental implant technique offers a complete solution for missing teeth, transforming smiles in just 24 hours. Using four strategically placed implants, a full arch of teeth can be supported without requiring individual implants for each tooth.
The All-on-4 dental implant process involves two implants placed vertically in the front of the jaw, with two angled implants in the back providing optimal support. This innovative approach maximizes existing bone structure, often eliminating the need for extensive bone grafting that traditional implants might require.
What makes this procedure remarkable is its efficiency—patients leave the same day with a fixed set of temporary teeth while their permanent prosthesis is crafted. This immediate solution means less recovery time and a quicker return to daily activities.
Step 1. Initial Consultation—Your First Step Towards a New Smile
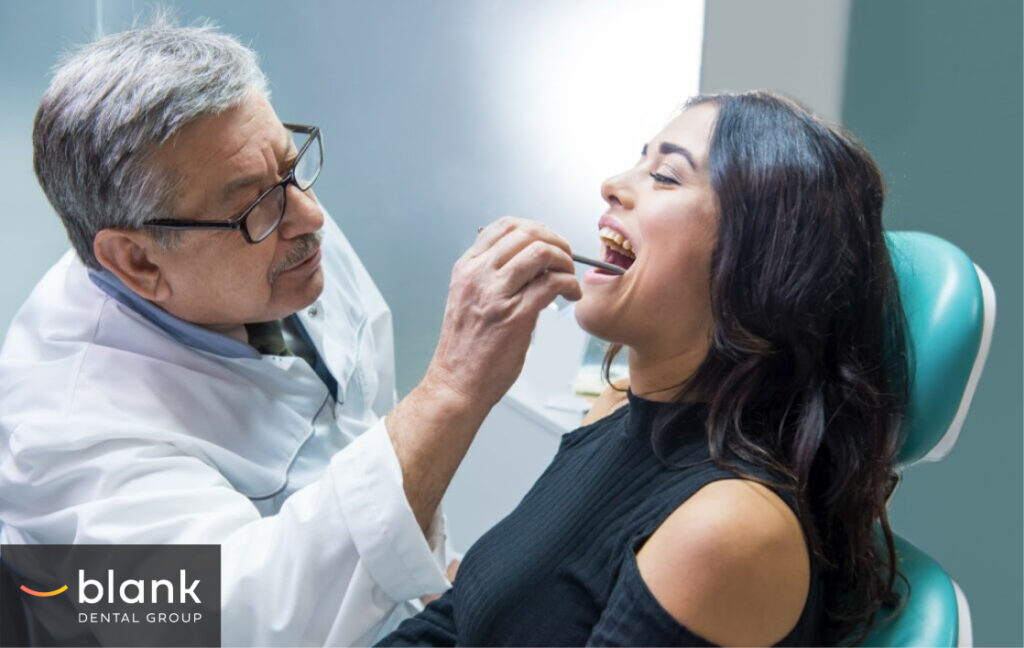
Your journey to All-on-4 dental implants begins with a comprehensive consultation that sets the foundation for successful treatment. During your first visit, our team performs a thorough review of your medical history, including your current medications, existing medical conditions, previous dental procedures, and lifestyle factors that could impact your treatment success.
The oral examination process involves careful assessment of your current dental state. Our specialists examine your remaining teeth, evaluate your gum health, measure your jaw bone density, and analyze your bite pattern. This comprehensive examination helps determine if you’re an ideal candidate for All-on-4 implants.
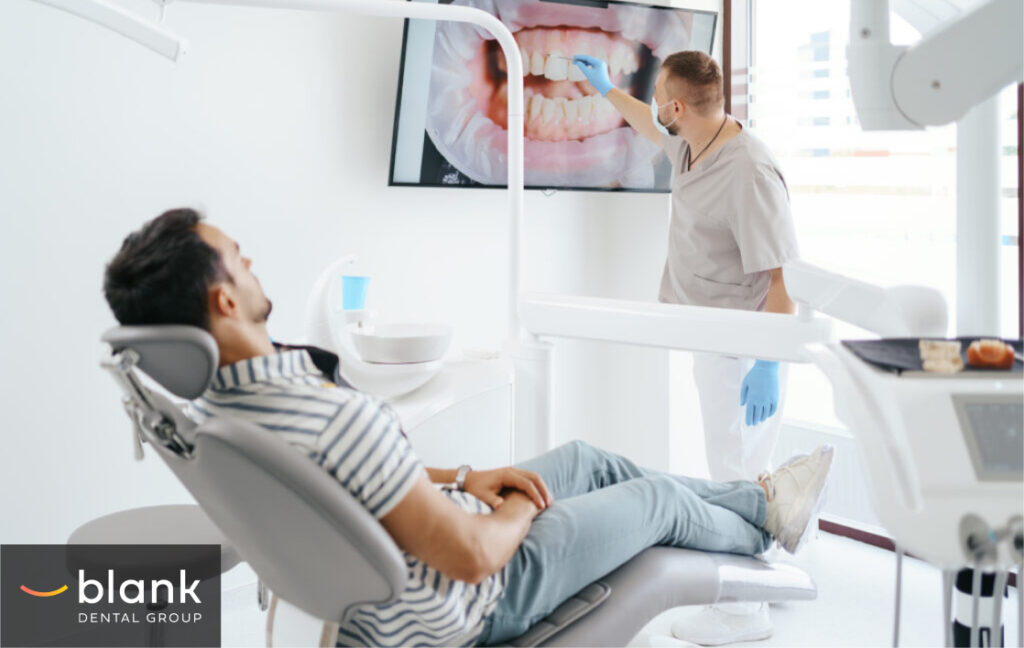
Advanced 3D imaging plays a crucial role in your treatment planning. Using state-of-the-art Cone Beam CT scanning technology, we create detailed maps of your jaw structure. These scans reveal important details about your bone density, nerve locations, and other anatomical features that guide implant placement. Digital impressions further enhance our ability to plan your treatment with precision.
Based on all collected data, we develop your personalized treatment plan. This includes determining the optimal implant placement strategy, establishing a timeline for each phase of treatment, identifying any necessary preparatory procedures, and designing your future prosthetic teeth. We carefully explain what you can expect during each stage of the process and address any concerns you may have.
Finally, we provide a transparent discussion of costs and financing options. You’ll receive a detailed breakdown of the investment required for your All-on-4 treatment. We’ll review potential insurance coverage, explore available financing options, and discuss payment plans that can make your treatment more manageable. Our team also explains warranties and long-term care considerations to protect your investment.
Step 2. The Preparatory Phase—Setting the Foundation for Success
The preparatory phase starts with carefully removing any remaining damaged or compromised teeth. Using specialized dental instruments and local anesthesia, your All-on-4 dentist extracts these teeth while preserving as much healthy jaw bone structure as possible. This step provides a clean foundation for your implants.
If gum disease is present, we address it through deep cleaning procedures and targeted antibiotic therapy.
Treating periodontal disease before implant placement is crucial as it could otherwise compromise the success of your implants. The treatment may include scaling and root planing to remove bacteria and infected tissue.
A thorough bone quality assessment follows using advanced imaging techniques. This evaluation determines if you need bone grafting or if your existing jaw structure can support immediate implant placement. We measure bone density and volume, and identify optimal implant positions that will provide maximum stability.
Pre-procedure instructions focus on preparing you for surgery day. We provide detailed guidance about medications, eating restrictions, and necessary lifestyle adjustments. This includes temporarily stopping certain medications, fasting requirements, and arranging transportation for surgery day.
Your comfort during the procedure is made sure of through various anesthesia options. These include local anesthesia with sedation for minimal anxiety, conscious sedation for moderate anxiety, or general anesthesia for complex cases or severe anxiety.
We select the most appropriate option based on your medical history, procedure complexity, and personal preference.
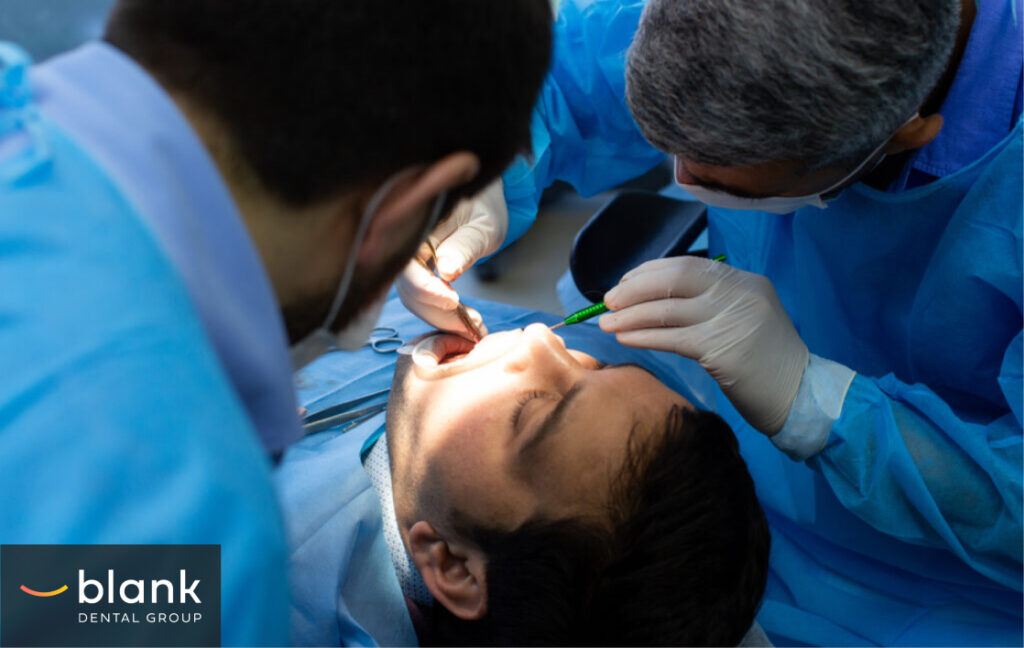
Step 3. The Implant Surgery—Precision Engineering Meets Surgical Excellence
The surgical phase begins with the precise placement of four dental implants into your jawbone.
Two implants are positioned vertically in the front of your jaw where bone density is naturally higher.
The remaining two implants are strategically placed at an angle in the posterior region, maximizing contact with available bone and avoiding sensitive anatomical structures like the sinus cavity or nerve canal.
The angled posterior implant technique represents a key innovation of the All-on-4 approach. By tilting these back implants at up to 45 degrees, we achieve several benefits: greater stability through increased bone-to-implant contact, elimination of the need for bone grafting in many cases, and the ability to support longer prosthetic teeth without additional implants.
Following the immediate load concept, we attach abutments to your implants on the same day as surgery. This allows us to secure a temporary set of fixed teeth immediately, meaning you’ll never be without teeth during your healing period. While not your final prosthetic, these temporary teeth are fully functional and aesthetically pleasing.
Your temporary teeth are carefully adjusted to confirm proper bite alignment and comfort. They’re designed to protect your healing implants while allowing you to speak and eat with confidence, though you’ll need to follow specific dietary restrictions during the initial healing phase.
Post-operative care instructions include detailed guidance for managing swelling and discomfort, medication schedules, oral hygiene protocols, and dietary restrictions. Regular follow-up appointments allow us to monitor your healing progress and make any necessary adjustments to guarantee optimal integration of your implants.
Step 4. The Temporary Prosthesis Phase—Your First Set of Fixed Teeth
Your temporary prosthesis attaches to the implants through abutments using durable acrylic material precisely fitted to your mouth’s dimensions. This provides immediate function while protecting the healing implants beneath.
We carefully adjust your bite during the initial fitting, checking how your upper and lower teeth meet and creating even pressure distribution across all implants. These adjustments continue over several visits as your mouth adapts to the new teeth.
Speech adaptation typically involves adjusting to the prosthesis thickness and tongue positioning. Simple practice exercises like reading aloud help accelerate this process, with normal speech returning within weeks for most patients.
Your diet should begin with soft foods cut into small pieces, avoiding hard, crunchy, or sticky items. Gradually introduce firmer foods as healing progresses, following your dentist’s timeline and recommendations.
Care for your temporary prosthesis involves gentle brushing with a soft-bristled brush and non-abrasive toothpaste. Use recommended oral irrigators to clean underneath, and follow prescribed antimicrobial rinse protocols. Regular check-ups ensure proper healing until you’re ready for permanent teeth.

Step 5. The Healing Period—Integration and Recovery
The healing period after All-on-4 implant surgery typically spans 3-6 months, during which osseointegration occurs. This biological process involves bone cells growing around and fusing with the titanium implants, creating a stable foundation for your permanent teeth.
During osseointegration, your jawbone forms a strong bond with the implant surface. Blood vessels develop around the implants, and new bone cells deposit directly onto them. This creates a permanent connection that allows your implants to function like natural tooth roots.
Regular monitoring includes digital X-rays and stability tests to verify proper healing. We assess gum health, implant stability, and bite alignment during these visits to ensure optimal integration.
While complications are rare, they may include infection, implant mobility, or prolonged discomfort. Early detection through consistent monitoring allows prompt intervention if needed.
Follow-up appointments occur more frequently in the first month and then spread out as healing progresses. These visits let us adjust your temporary prosthesis, monitor healing, and begin planning your permanent teeth once integration is complete.
Step 6. The Final Prosthesis—Your Permanent Smile
During the custom design process, we take detailed impressions and digital scans to create your permanent prosthesis. Your input guides decisions about tooth shape, size, color, and positioning to achieve your desired aesthetic outcome.
Material options include zirconia, porcelain-fused-to-metal, or high-impact acrylic. Zirconia offers superior durability and aesthetics but costs more. Porcelain provides excellent aesthetics with good durability. Acrylic offers affordability while maintaining aesthetic appeal.
Final fitting involves precise adjustments for proper bite alignment and comfort. We verify speech clarity, assess aesthetics, and confirm proper cleaning access. Multiple minor adjustments may be needed to achieve optimal fit and function.
Daily maintenance requires thorough cleaning with specialized brushes and water flossers. Use prescribed cleaning tools to access areas beneath the prosthesis. Professional cleaning every 4-6 months helps maintain implant health.
Long-term care includes annual comprehensive exams to check implant stability, prosthesis integrity, and bite alignment. With proper maintenance, your All-on-4 implants can last a lifetime, though the prosthesis may need replacement after 10-15 years.
Step 7. Recovery & Aftercare—Maintaining Your Investment
Start each day by cleaning your prosthesis with a soft-bristled toothbrush and non-abrasive cleanser. Use a water flosser to remove debris beneath the prosthesis and around the implants. End with antimicrobial mouthwash to reduce bacteria.
Follow a balanced diet rich in calcium and protein to support bone health. Avoid excessive hard, sticky, or acidic foods that could stress your prosthesis. Stay hydrated and limit alcohol and tobacco use.
Schedule professional cleanings every 4-6 months. Annual comprehensive exams evaluate implant stability, bone health, and prosthesis condition.
Watch for warning signs: persistent pain, gum swelling, difficulty biting, prosthesis mobility, or unusual sounds when chewing. Report these immediately to prevent complications.
Success depends on consistent oral hygiene, regular dental visits, and prompt attention to concerns. Most All-on-4 implants last decades with proper care, making them a reliable long-term solution for tooth replacement.
Your Journey to a Renewed Smile Begins Here
The All-on-4 dental implant technique represents a significant advancement in modern dentistry, delivering life-changing results through a streamlined, single-day procedure. This innovative approach combines surgical precision with immediate functionality, allowing patients to restore their smiles with minimal downtime.
The proven success rate and durability of All-on-4 implants make them an optimal choice for those seeking a permanent solution to tooth loss.